Professional Camera Setting choice for Wildlife Photography
Why Aperture Priority is My Professional Choice for Wildlife Photography
When people think about wildlife photography, they often imagine expensive telephoto lenses, exotic locations, and split-second reactions. While those things certainly play a role, one of the biggest factors in consistently creating compelling wildlife images is choosing the right camera settings, especially for fast action subjects. For me, and for many professional wildlife photographers, that means shooting in Aperture Priority (A or Av) mode.
It may seem surprising that professionals don't always shoot in Manual mode. The reality is that wildlife rarely waits for you to adjust every camera setting. Animals move unexpectedly, light changes constantly, and opportunities disappear in seconds. Aperture Priority allows me to maintain creative control while letting your camera do the hard work, ensuring I never miss the moment.
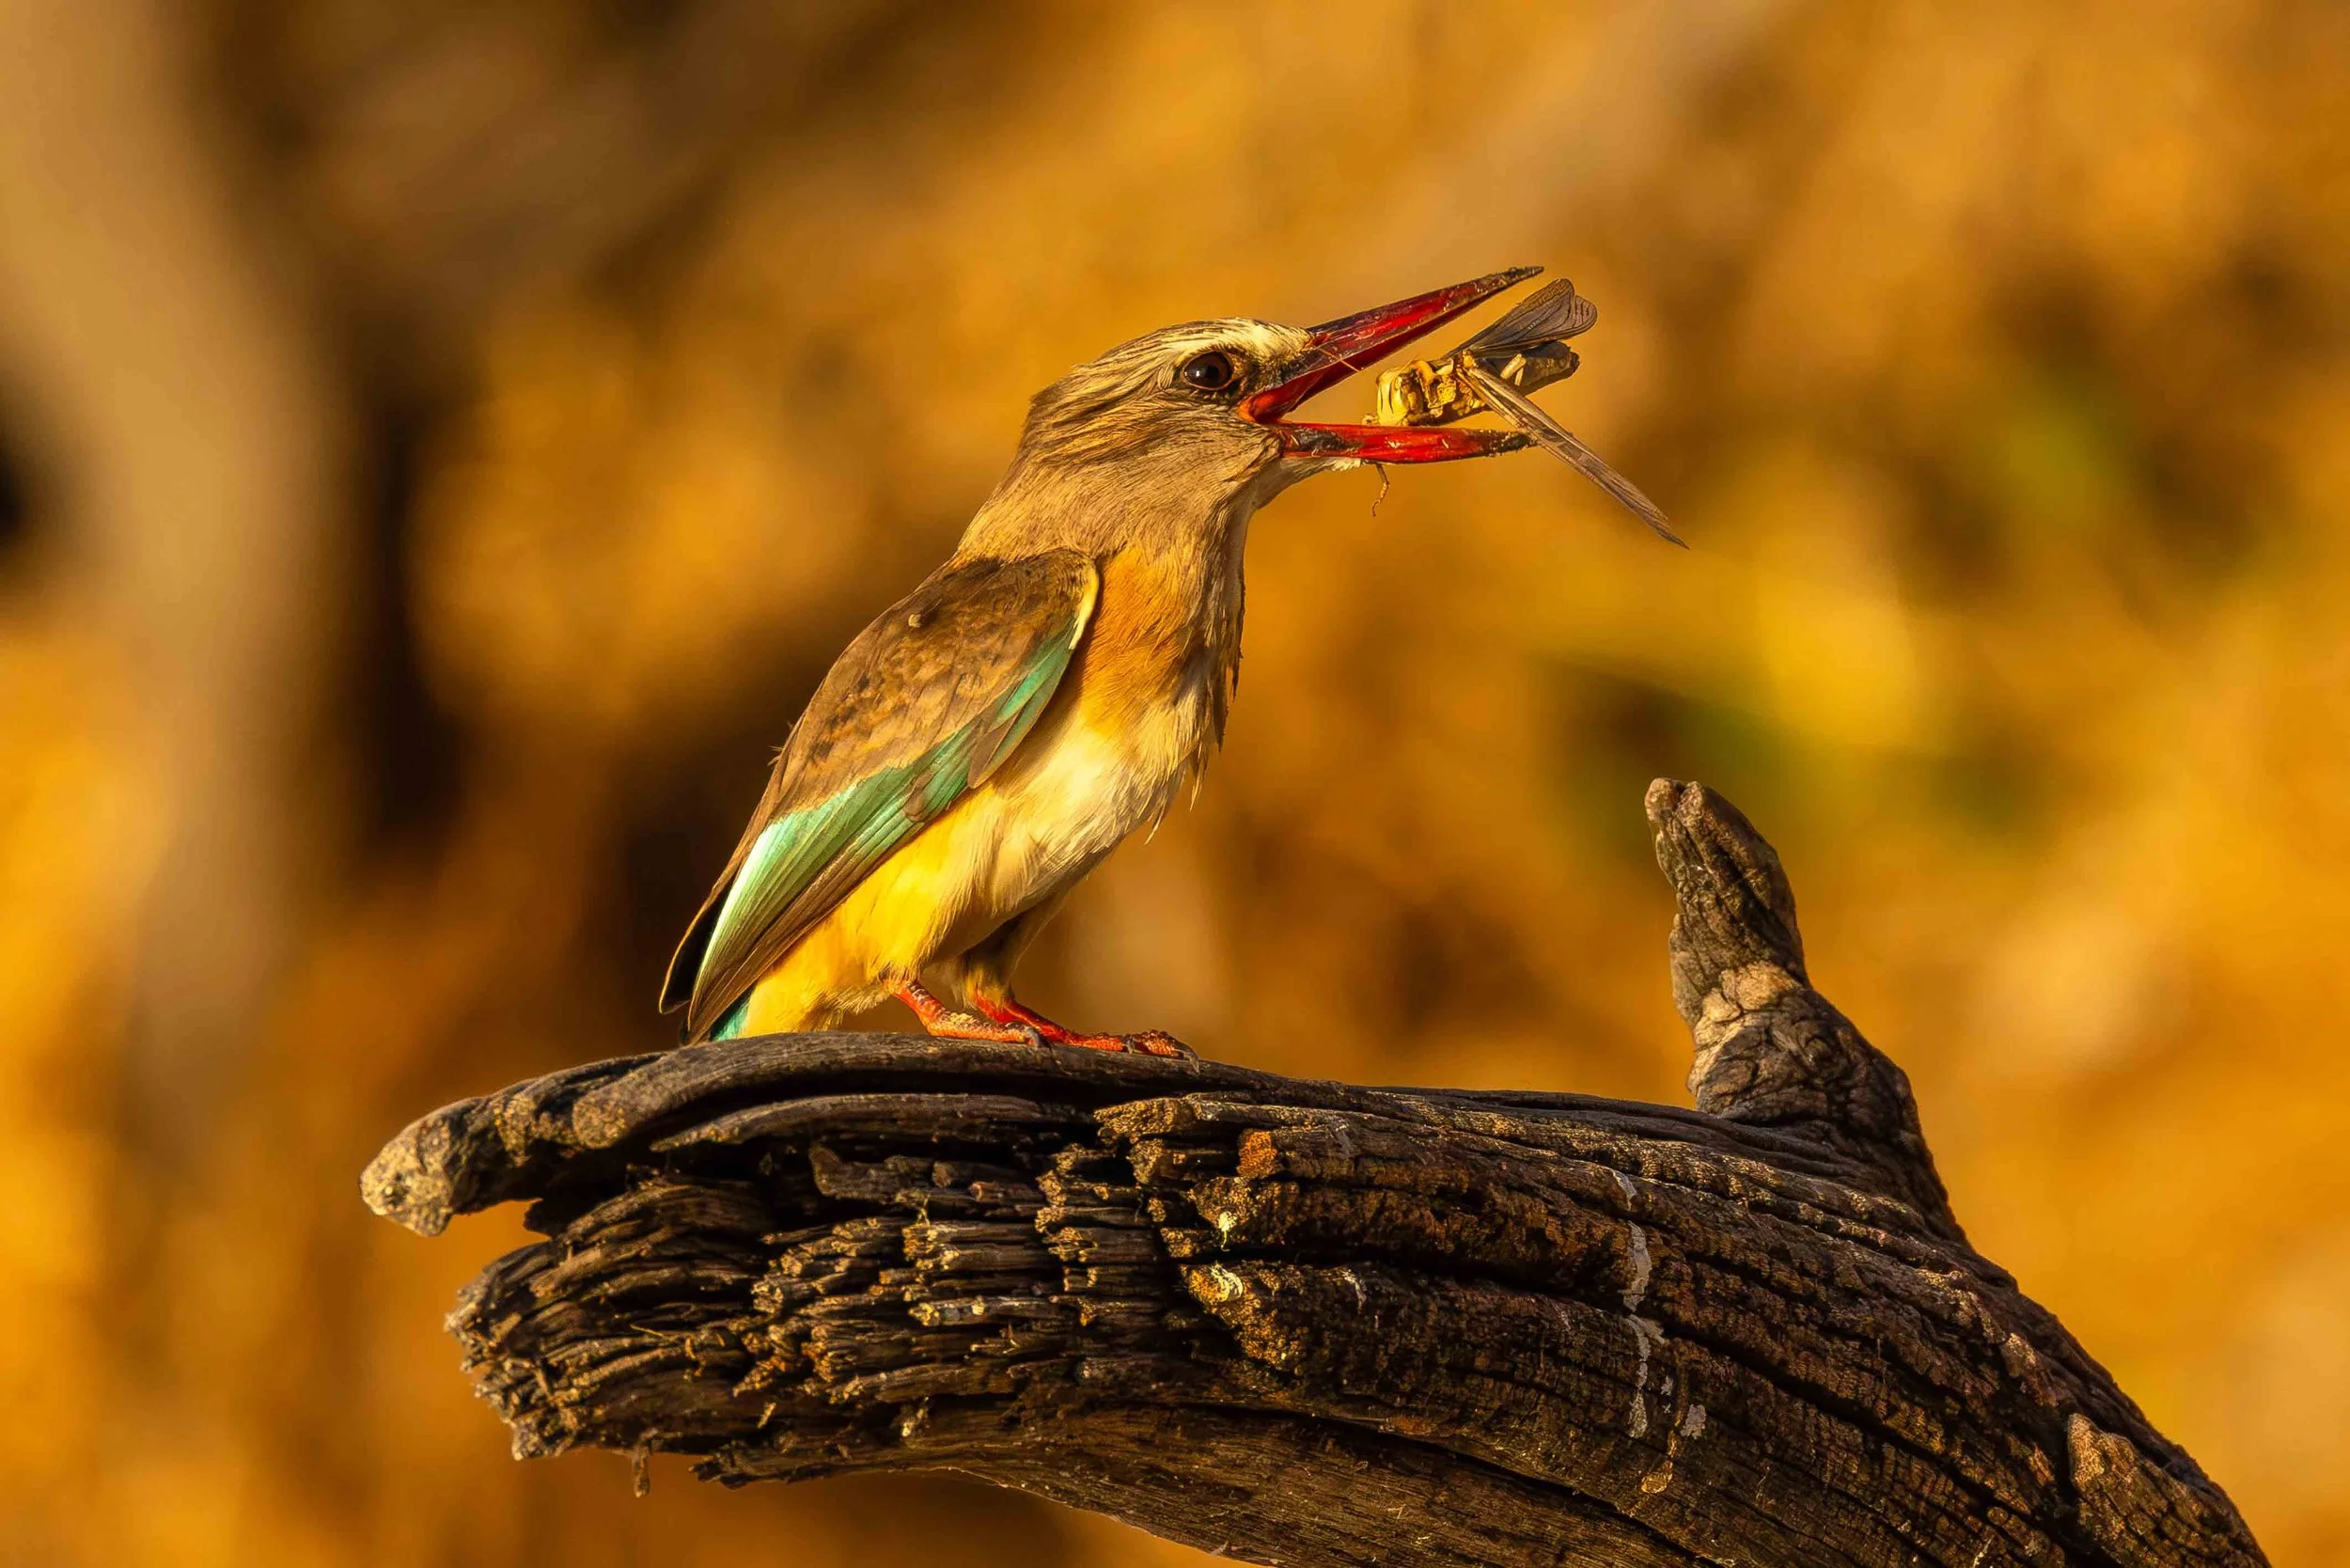
Capturing the moment using Aperture Priority Camera Setting - Brown Hooded Kingfisher orientating its next meal on the banks of the Chobe River in Botswana. Camera Setting - Aperture Priority, f14, ISO 3200, light compensation -1 stop, focal length 800mm, resulted in a 1/2500 second exposure. Drive mode - high speed continuous.
Controlling the Story with Depth of Field
The aperture determines how much of the scene is in focus. More importantly, it determines how the viewer's eye is drawn through an image as well as how much light you are allowing onto your camera sensor.
When photographing a lion resting in long grass or a New Zealand Tūī perched among flowering branches, I want the animal to stand out from the background. By selecting a wide aperture such as f/4 or f/5.6, I create a beautifully blurred background that isolates the subject and removes distracting elements. In this type of situation where you are creating an artistic portrait and have the time to change camera settings, I would recommend using Manual mode.
In the example above of the Brown Hooded Kingfisher, I used Aperture Priority and still managed a blurry background at f14, as there was a lot of space behind the subject. In hindsight I could have used f9, which would have been the widest at 800mm for a 200-800mm Canon telephoto lens.
For environmental portraits, where I want to include the landscape as part of the story, I may choose f/9 to f/14, allowing more of the surroundings to remain sharp. For fast action wildlife photography, I do not recommend going completely open or as low as the lens allows, as you run the risk of several images been unusable, due to the fast action movements, where focal distances change rapidly.
This creative control is exactly why Aperture Priority is so powerful for fast action wildlife photography.
Let the Camera React Faster Than You Can
Wildlife photography often unfolds in unpredictable situations.
One moment a cheetah is resting in the shade. The next it launches into a sprint across the sunlit plains in peruse of a kill.
A bird may leave a shaded perch and fly into bright open sky in less than a split of a second.
If I were shooting in full Manual mode and wanted to take an image of an unexpected fast-moving subject, you would need to adjust shutter speed. During that time, I could easily miss the decisive moment.
In Aperture Priority, I keep the aperture exactly where I want it, while the camera instantly selects the appropriate shutter speed as lighting conditions change. This is where light compensation EV plays a vital role. The secret here is to trick your camera into faster shutter speeds especially when light conditions are still good.
Modern cameras are remarkably good at making these exposure decisions, allowing you to concentrate on composition, focus, and timing.
When there is still plenty light, I would set my light compensation to -1,5 stops, ISO at 3200, which drives your camera to calculate higher shutter speeds in excess of 1/2500 of a second! Some would say, why such a high noisy ISO? With sufficient light and todays editing software, noise is no problem. It took me some time to actually believe and adapt this strategy and wow, was I pleased!
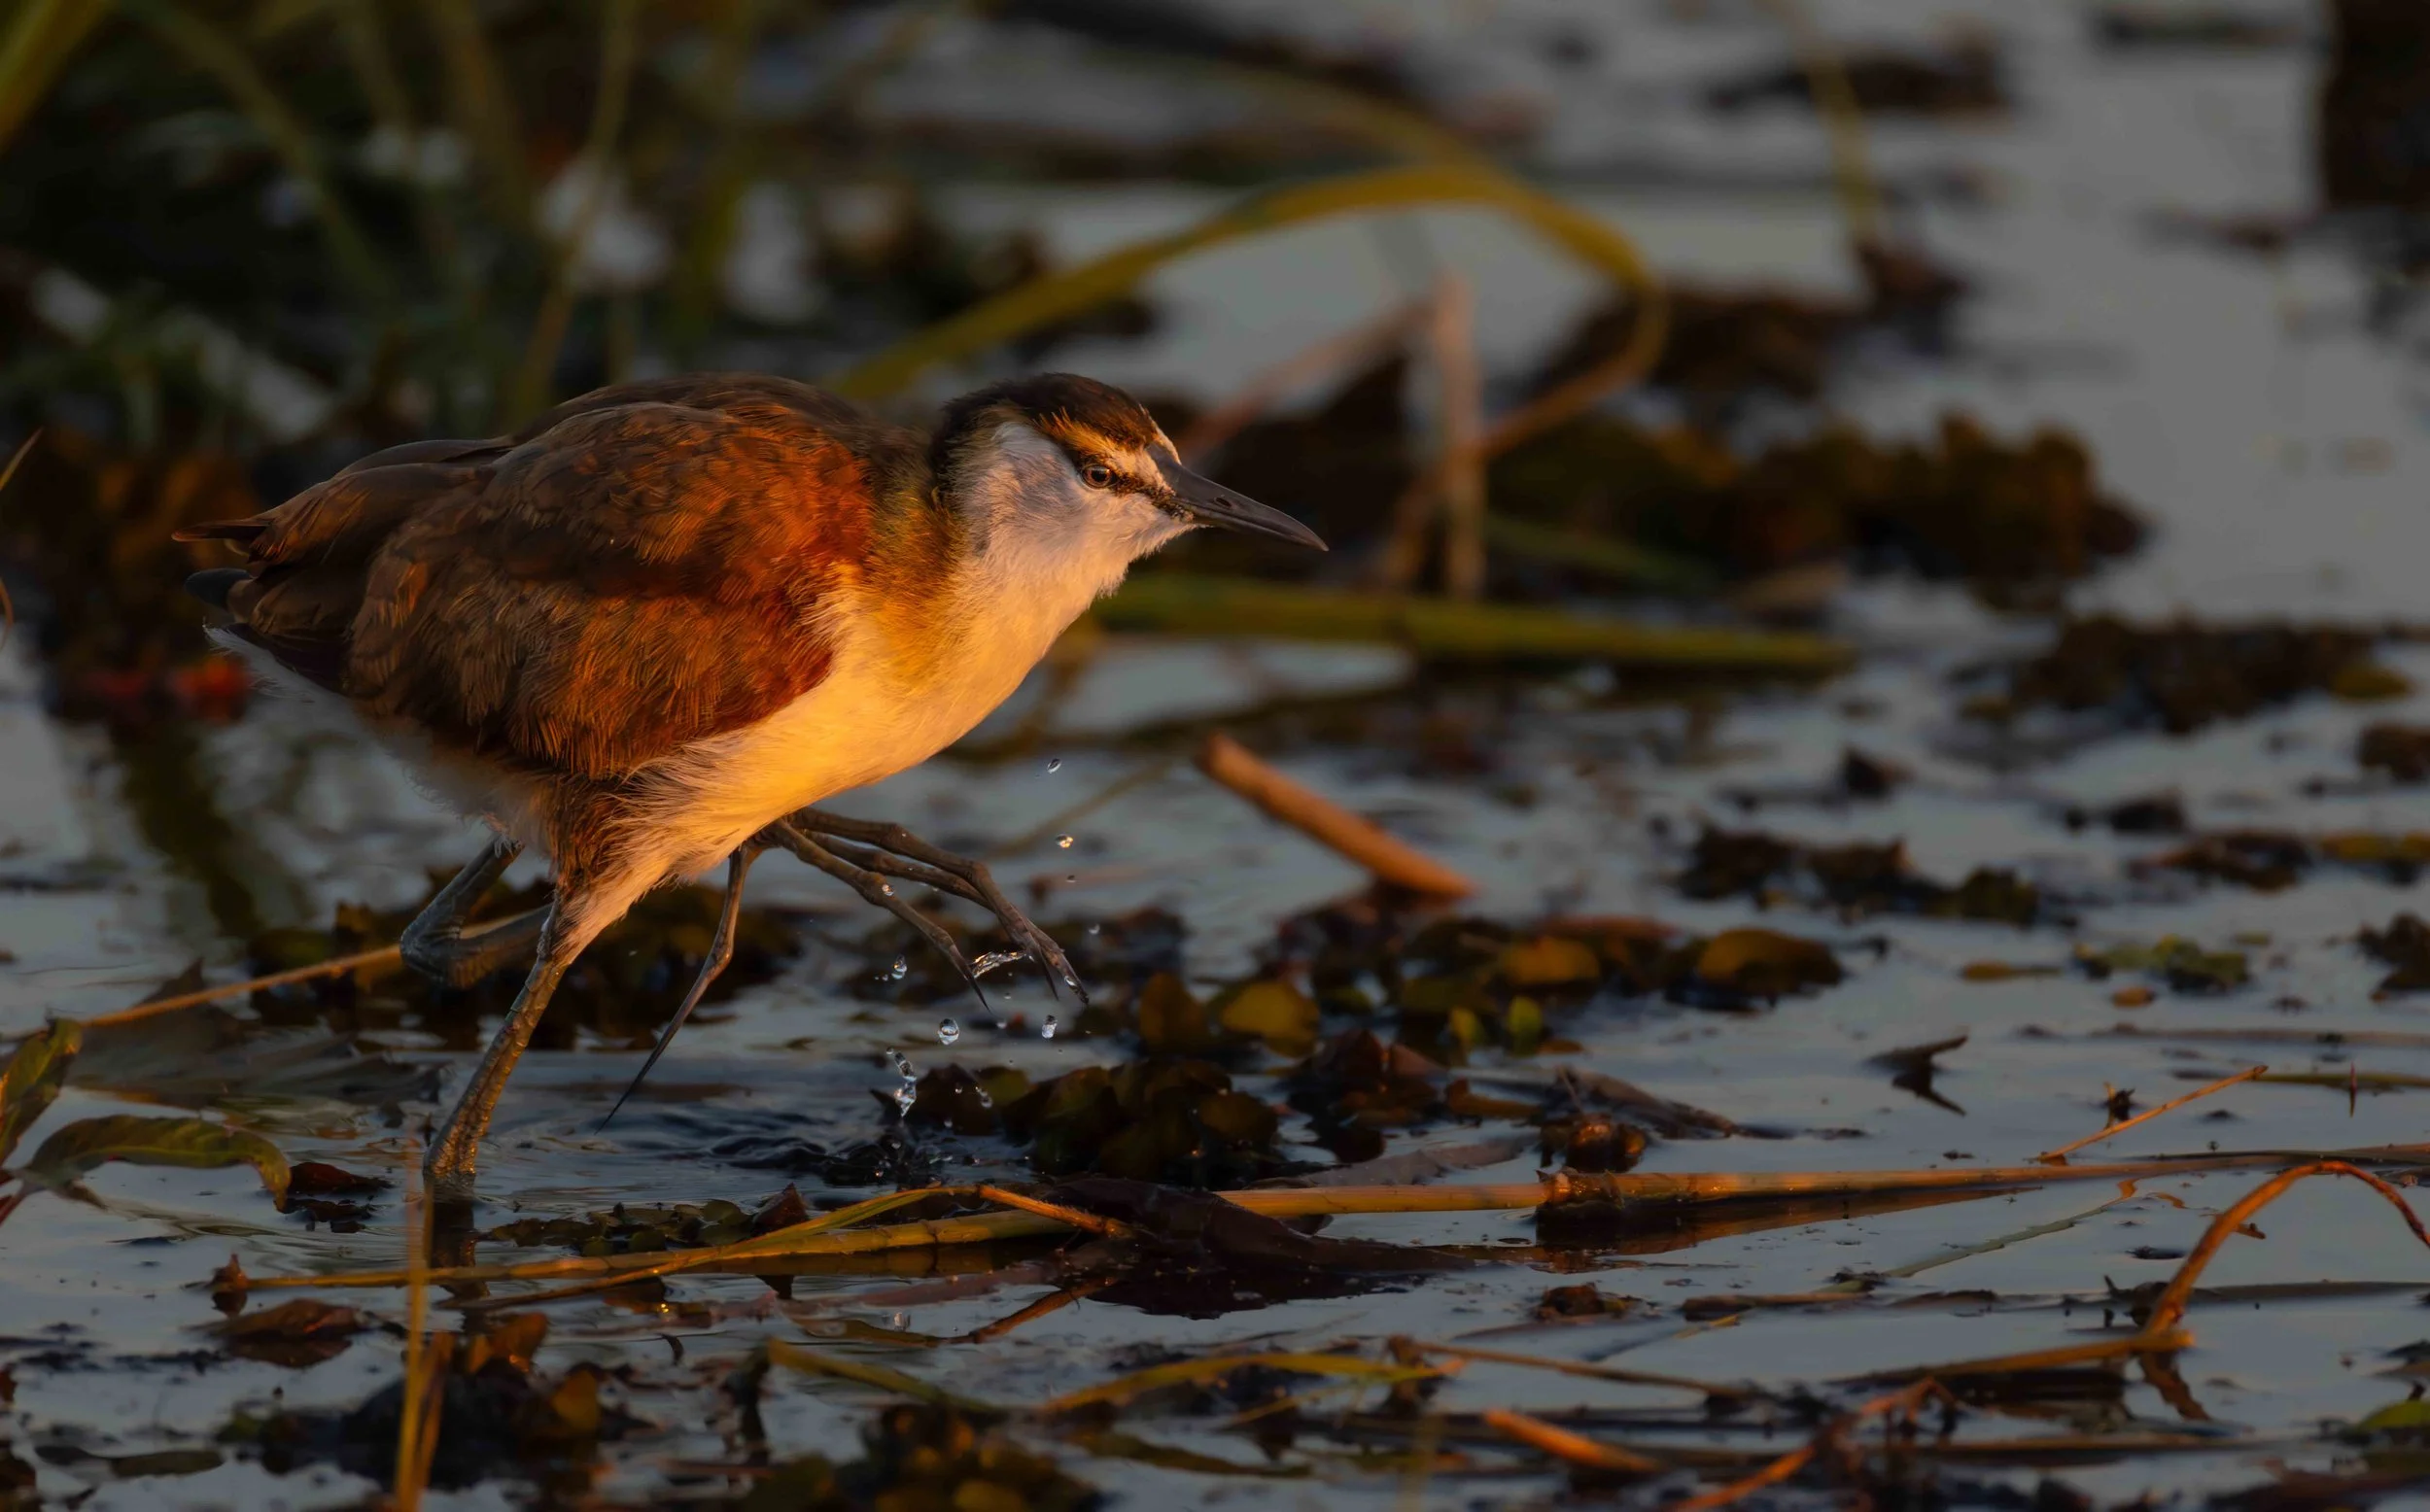
Freezing water droplets in low light conditions using camera Aperture Priority Setting. Here an African Jacana leaps across the lillies during early morning light on the Chobe River in Botswana.
Pairing Aperture Priority with higher ISO
Today's professional wildlife photographers often combine Aperture Priority with higher ISO settings that drive up shutter speeds to capture fast action subjects.
Capping your ISO at 3200 is really manageable as far as noise is concerned.
I choose the aperture for the desired depth of field.
I set the ISO at 3200.
I adjust the light compensation between -1 to -2 stops (pending available light).
Pressing your shutter halfway you can view through your view finder what shutter speed your camera is calculating.
Exposure Compensation Becomes Your Best Friend
No exposure system is perfect.
Bright white birds, dark buffalo, snowy owls, or animals against bright skies can easily fool the camera's meter.
Instead of abandoning Aperture Priority, I simply use Exposure Compensation.
A quick adjustment of -1 stop for a white egret or +1 stop for a black raven often delivers perfect exposure without interrupting the flow of shooting.
Light compensation also assists in overall improved tonal ranges in challenging light conditions, whilst still getting the best shutter speed.
It becomes second nature and takes only a fraction of a second.
The Professional Advantage
Many photographers believe Manual mode is the hallmark of a professional and yes, it definitely has its place in more artistic images. Personally, I only use manual Settings for landscapes or portrait shots.
In reality, professionalism is about using the most effective tool for the situation.
The best wildlife photographers understand that the camera is simply a tool. If automation helps capture fleeting moments more consistently, then it becomes an advantage rather than a compromise.
Whether photographing African elephants crossing the Chobe River, meerkats greeting the morning sun in the Kalahari, or a rare takahē feeding in the forests of New Zealand, the goal is always the same—capture the behaviour, the light, and the emotion before the moment disappears.
Aperture Priority allows me to do exactly that.
My Typical Wildlife Settings
Although every situation is different, these settings form the foundation of my wildlife photography:
Mode: Aperture Priority (A/Av)
Aperture: Generally as low as your focal length allows. In prime 600mm lenses I would go up a notch or two, say f6, especially when photographing faster moving subjects, reducing room of focus error. Background s can be blurred using editing software.
ISO: 3200
Minimum shutter speed: 1/1000–1/2500 sec depending on the subject
Continuous Autofocus: AF-C / AI Servo
Drive Mode: High-speed continuous shooting
Exposure Compensation: Adjust as needed for challenging subjects, generally -1 to -1,5stops in good light.
These settings give me the flexibility to respond instantly while maintaining complete creative control over the final image.
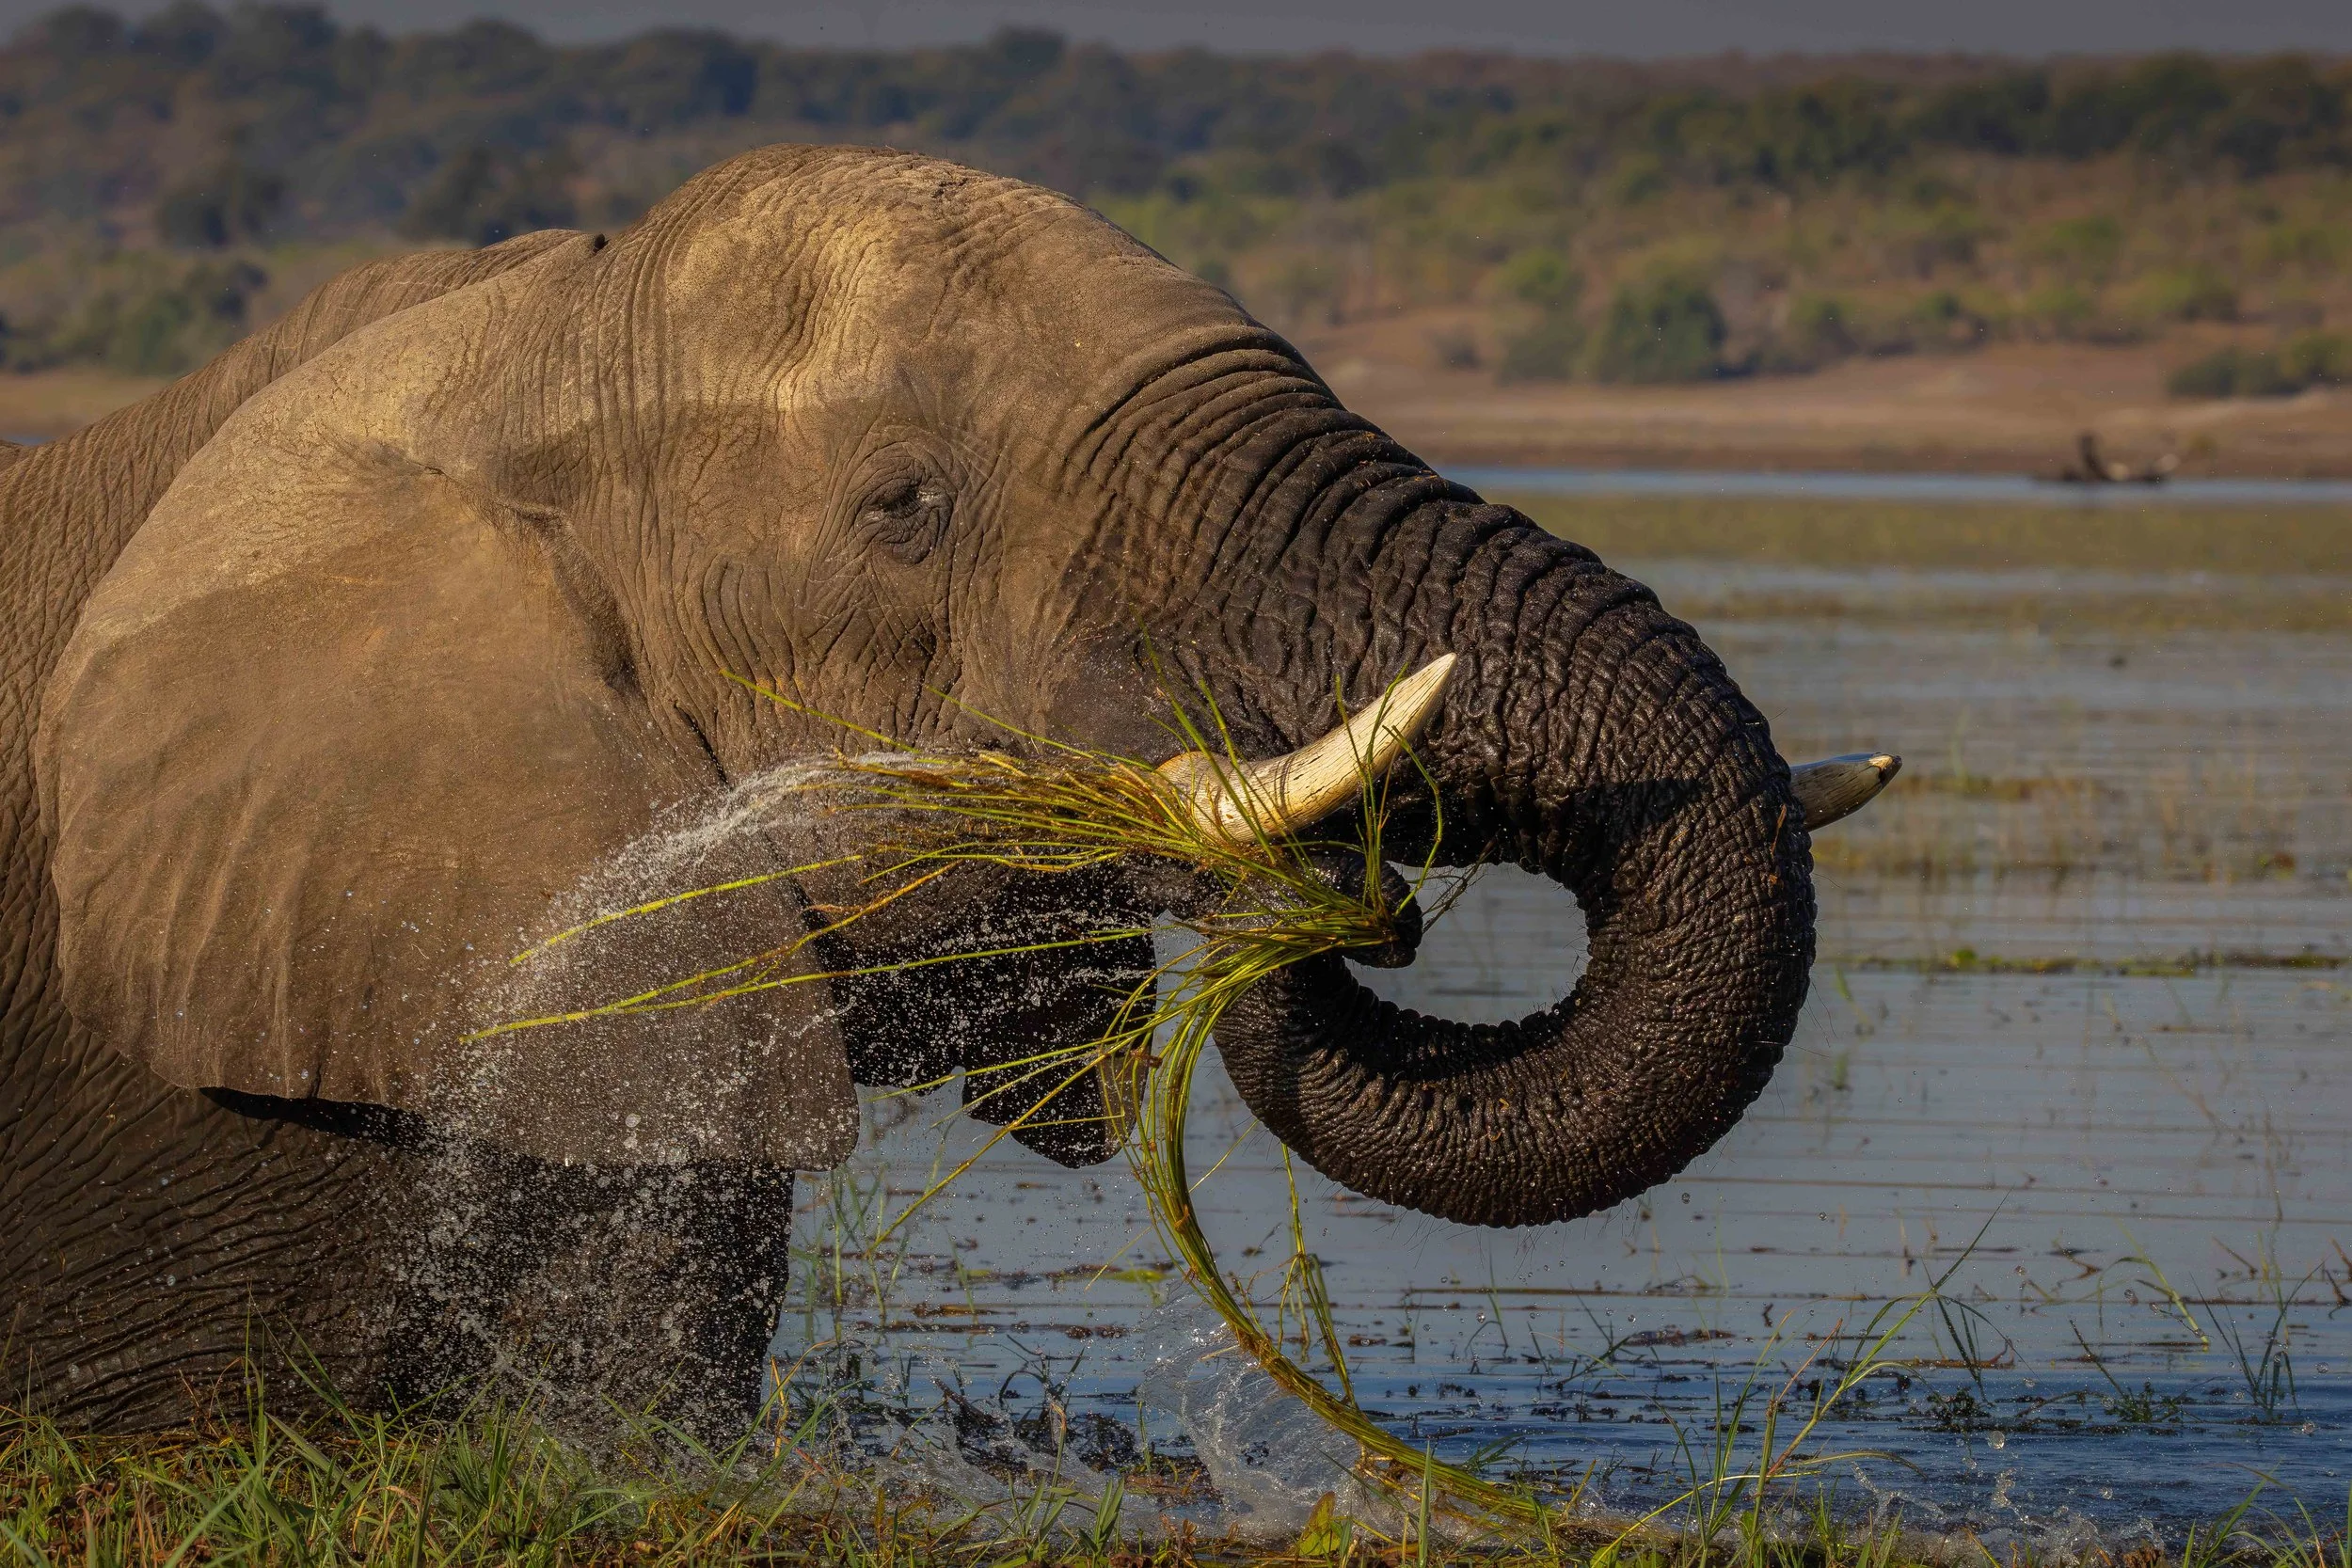
Capturing the fast feed washing action of an African Elephant on the Chobe River in Botswana using Aperture Priority Settings
Final Thoughts
Wildlife photography is about anticipation, patience, and storytelling. The camera should support those skills—not slow them down.
For me, Aperture Priority offers the perfect balance between creativity and speed. It allows me to shape the look of every image while trusting modern camera technology to react faster than I ever could.
In the wild, moments last only a heartbeat.
When that leopard glances over its shoulder, the kingfisher dives into the water, or golden sunrise light catches the eyes of a lion, I don't want to be adjusting dials.
I want to be pressing the shutter.
And that's why Aperture Priority remains my professional choice for wildlife photography.
Watch my YouTube video below for more information.
If you would like to join me on a Wildlife and Landscape Photography Workshop in May 2028, drop me an email at dvr3dstudio@yahoo.com for a brochure.